Smartphone photography keeps getting better. The Camera and Gallery apps that come with Android 4.2 (still called Jelly Bean) have evolved into powerful tools for taking, viewing, editing, and sharing photos.
Before you take a picture, you can fine-tune the exposure, set the white balance, and tell the camera where to focus. You can photograph the entire world around you, 360 degrees horizontally and vertically. Afterward, you can add filters, tweak the exposure some more, fiddle with the colors (or remove them), crop the image, straighten it in both 90- and 1-degree increments, and put a frame around it. And when you're happy with the result, you can upload it to whatever social media sites you choose.
I spent some quality time with a Google Nexus 4 smartphone to find out just what Android 4.2's photography apps can do. This is a pure Android phone, with no manufacturer additions or alterations to the operating system. In other words, anything I could do here should be available on other smartphones running Android 4.2.
(A personal note: You might think, looking at the photos ahead, that I'm obsessed with my cats. Not so. It's just that, unlike people, they never object to having their photos appear on the Internet.)
[See also: Smartphone photo tips for the holidays]
The Camera app
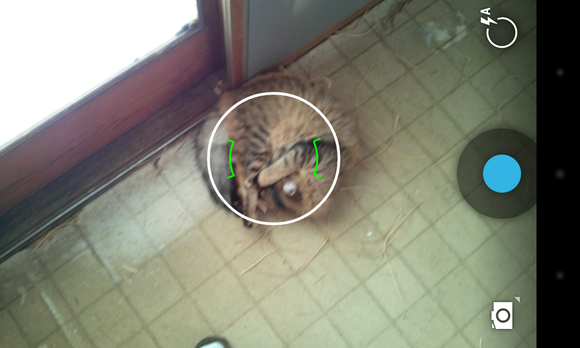
Has this ever happened to you? You see a perfect photo moment. So you whip out your phone, press the power button, enter the PIN, password, or pattern to unlock your phone (and if you haven't secured your smartphone with one of these, you should), wait for the home screen to appear, and launch the camera app.
And by that time, the perfect moment has passed.
Not an issue with Android 4.2—if you know the trick. First, press the power button. Then, instead of entering your PIN (or whatever), swipe the lock screen from right to left. The camera app will come up immediately.
Yes, if someone steals your phone, they will be able to take pictures. But that's not a real security issue. They won't even have full access to the gallery, let alone your private information.
Of course, you can also launch the Camera app the conventional way (after you've unlocked the phone), but by then your perfect shot will be no more.
Take a simple photo
Aim the camera, and a white circle will appear in the center. This circle shows the area on which the camera will focus and set exposure.
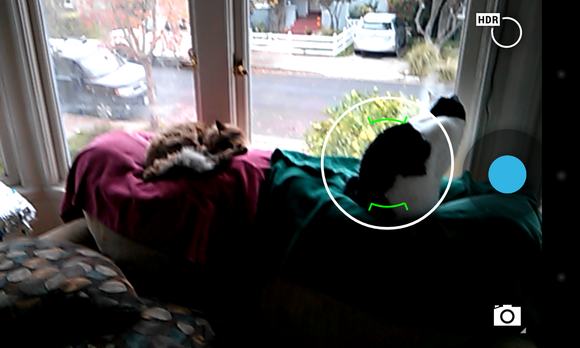
If you're too far away from the subject, you can zoom in with the same two-finger gesture you use to zoom in on a webpage. Just remember that your Android device probably lacks a real zoom lens; the app can give you only an inferior digital zoom.
When the image is just right, press the big blue shutter button on the right side of the screen (which will be on the center-bottom if you're shooting in portrait mode).
Fine-tune via the camera menu
On the main screen of the Camera app, you'll find another, smaller, white circle in the upper-right corner (lower-right if you're in portrait mode). Tap that, and a radial menu will give you assorted options for controlling the look of your photo.
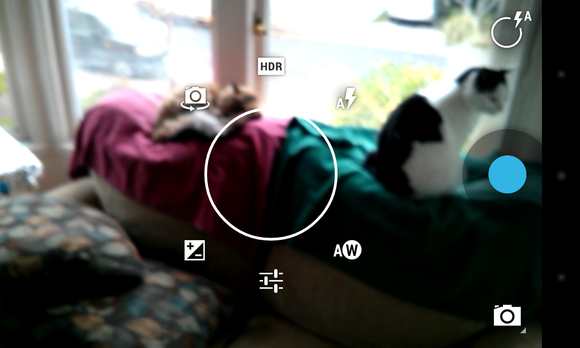
HDR: Digital cameras often have dynamic range problems. If the scene has a lot of bright light and dark shadows (a common problem on sunny days), either one part of the image will be too bright or another part will be too dark. A high dynamic range (HDR) mode helps fix this problem by sampling the light in multiple exposures and creating a composite photo. You can turn this feature on or off; the app gives you no other options.
Flash: You get the usual options, on, auto, and off. Auto—in which the camera decides whether it needs the flash—is a good default. But there will be times when you and the camera will disagree about that.
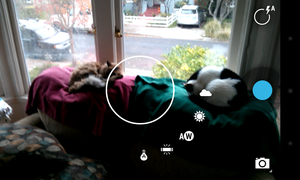
Settings: This isn't really an option, but a submenu with three additional options of its own.
- Scene mode lets you tell the camera about your environment. Are you shooting at night? At a party? If you're unsure, stick with the default, Auto (which doesn't mean you're in a car).
- Store location has nothing to do with where you bought your tablet or phone. It's about geotagging your pictures so that you create an automatic record of where you took them.
- Picture size lets you adjust how big of a photo you take (in terms of megapixels).
Switch camera: Your phone or tablet likely has a second, front-facing camera intended for video calls. But it also allows you to take photos of yourself. You may find it useful as a makeshift mirror, too.
Other camera modes
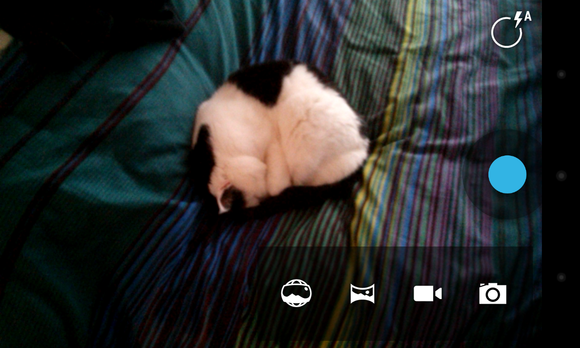
Below the shutter button is an icon shaped like a camera. Tap it, and up come three additional photography modes. Going from left to right, they're Photo Sphere, Panoramic, and Video.
Android 4.2 doesn't provide as much control over shooting video as it does with still photos. You have no way to tell the camera where to focus, and you can't set the exposure. But at least you can set the resolution and the white balance (using the same menus as with still photos).
You can also control the flash, although the word flash may not be appropriate (turn it on, and the light stays on until you turn it off). You get no Auto option.
When you visit the Settings submenu, you'll find a setting for time-lapse photography, allowing you to condense a very long period of time into a few seconds.
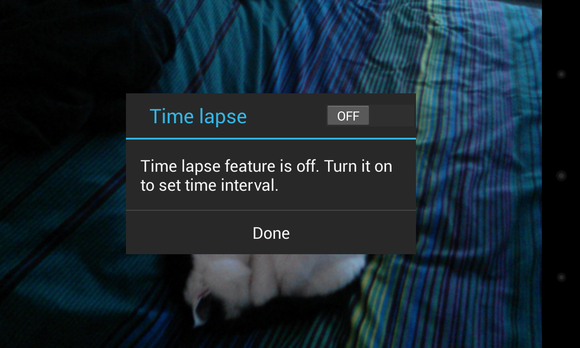
To turn on time-lapse photography, tap the OFF button. This brings up a dialog box where you can set the time interval. The default, 0.5 seconds, will shoot only two frames a second, so an hour's worth of video will go by in 2 minutes.
With few exceptions (sitting in a moving car's passenger seat is one of them), there's little you can do with time lapse that doesn't require a tripod. Few phones or tablets can easily accommodate a tripod.
Whether you're shooting in time lapse or real time, you press the shutter button—which is red in video instead of blue—to start and stop capturing images.
One other interesting trick: Touch the screen while shooting video, and you'll also save a still image of your current frame.
Use Panoramic mode

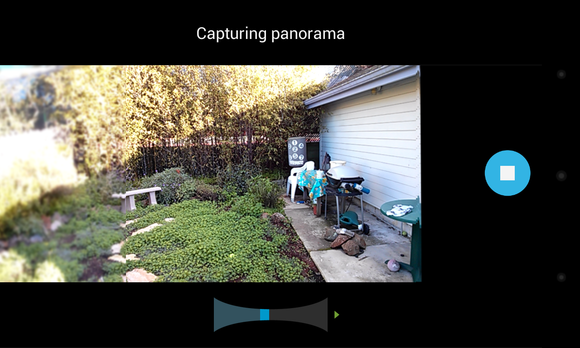
No matter what camera or software you use, panoramas have their problems. Moving objects, including people, ruin the illusion. And objects too close to the camera will not blend well between images.
When you're done, don't tap the X that appears in the corner … unless you want to delete what you've just done. Instead, wait for the camera to stitch together the panorama.
Capture the environment with Photo Sphere
Photo Sphere lets you capture all of your surroundings in a single image. Like a panorama, Photo Sphere works best when you're standing in a single spot and capturing a stationary environment.
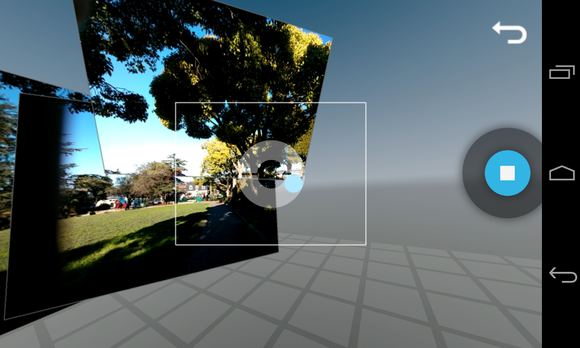
Other dots will appear. Move the camera so that one of them is centered, and the camera takes another picture. Continue until you've covered as much area as you want to capture, or until you get bored.
Press the shutter button when you're done, and the Camera app will begin rendering your Photo Sphere.
Switch between the Camera and Gallery apps
Before we move from discussing what you can do with Android 4.2's Camera app to what you can do in the Gallery, I'd like to take a moment to discuss how you switch between these two photo-oriented apps.If you're inside the Camera, simply swipe right to left to enter the Gallery app. You'll find yourself in the Camera section, which is devoted to photos you've taken, and you'll be viewing them in Filmstrip view.
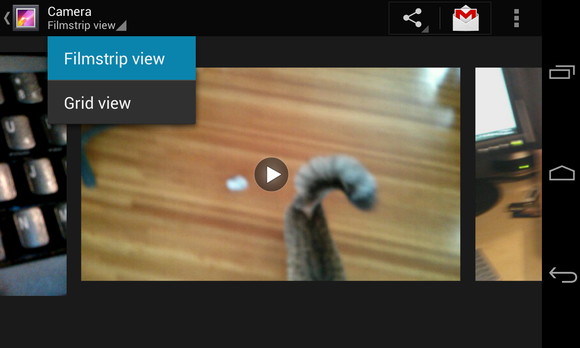
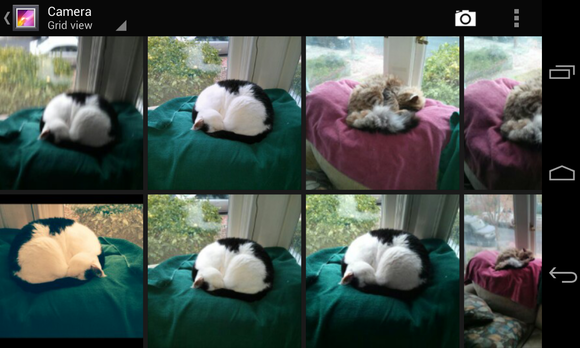
The Gallery app
I've already told you how to switch between the two thumbnail views, Filmstrip and Grid. You can probably figure out that tapping a photo will bring it up full screen. And I assume you know the two-finger gesture for zooming in to examine a photo's detail.So let's move on to some less-obvious features.
View and edit photos
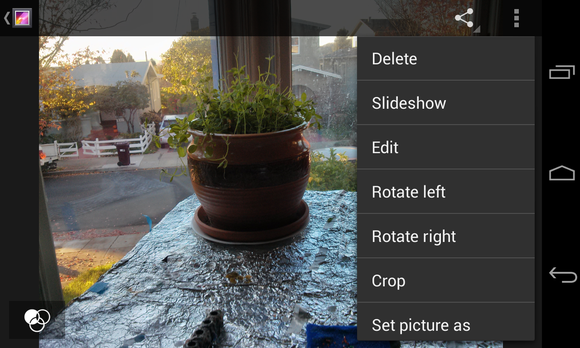
The Edit environment contains four workspaces.
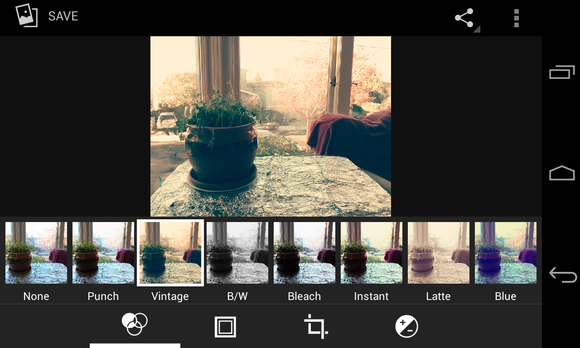
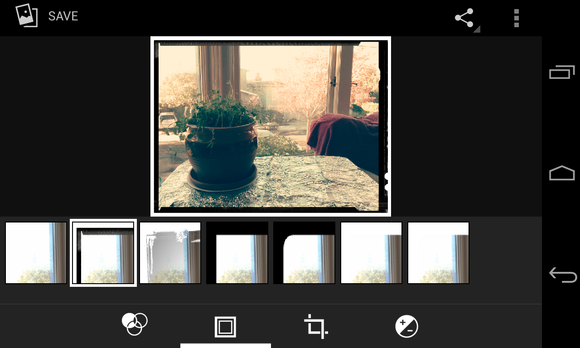
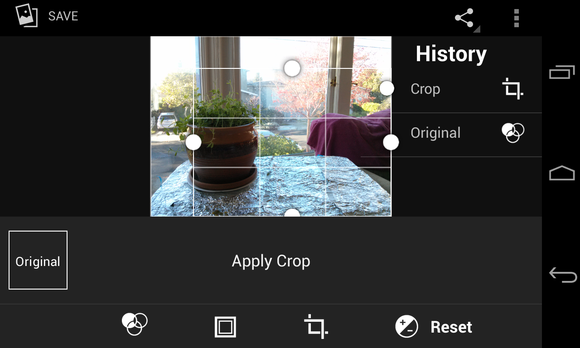
- Straighten allows you to rotate the image in 1-degree increments, adjusting it if the angle is just a bit off.
- Crop does what you'd expect, but it's initially confusing to use. No matter how you drag the corners and sides of the image, the aspect ratio doesn't change. In other words, you can make the picture smaller, but you can't change its shape. To fix the problem, tap the Original box in the lower-left corner to bring up a menu of aspect-ratio options. Select None, and you can make the picture any shape you like.
- Rotate behaves almost exactly as Crop does, except that it limits you to 90-degree increments. In other words, it's just like every other rotating feature in existence.
- Mirror lets you invert the image left to right or top to bottom. Swipe the image to flip it over.
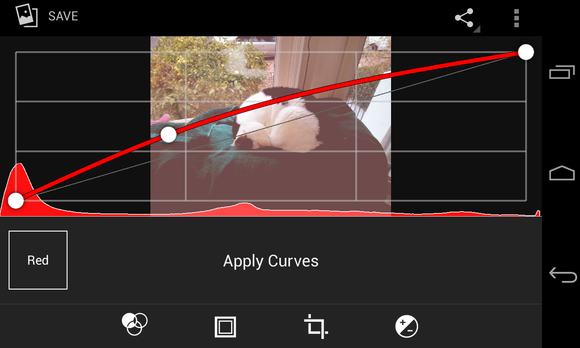
The most powerful adjustment, curves, provides a full histogram. By adjusting the curved line—which can control general brightness or one primary color—you can change the image in detailed ways.
Save or undo your work
If you change your mind while you're working, you can always go back. Tapping the menu icon in the upper-right corner while in Edit mode will bring up a menu with Undo, Redo, Reset, and History options. The last option allows you to select different points among the changes you have made.
When you tap Save in the upper-left corner, Gallery will save the image as another file. You don't lose the original image.
Handle videos and panoramas
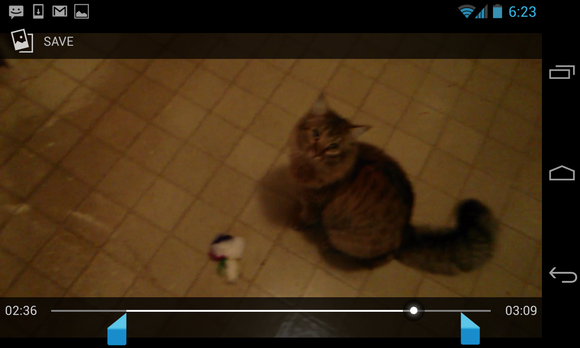
You can't alter videos the way you can still photos, but you can trim them, cutting off pieces at the beginning or the end.
Don't mistake this tool for a real video editor. You can't trim from the middle, or splice different shots together.
The Camera app saves a panorama as a standard .jpg file, and the Gallery app doesn't recognize it as something special. Anything you can do with a standard photo you can also do with a panorama.
What can you do with spheres?
The Camera app also saves spheres as .jpg files, so you can view them anywhere. Viewed through any kind of conventional viewer, however, they seem pretty weird. Our brains can't relate to a 360-degree view, presented flat.
But in this case, the Gallery app knows that spheres are something special, and handles them appropriately. When viewing a Photo Sphere in the Gallery, you'll notice a Sphere logo at the bottom center. Tap it, and you get a closer view of a piece of the whole. You can scroll in any direction that you photographed.

You can edit both spheres and tiny planets with all of the tools available for standard photos. They are, after all, .jpg files.
Share your world (tiny and otherwise)
Once you're happy with your pictures, panoramas, videos, spheres, and tiny planets, you may want to share them with other people.
To share the image or video you're viewing in the Gallery, tap the sharing icon near the top-right corner. The resulting menu will have a disappointingly small selection of options.
Fortunately, one of those options will be 'See all'. That one will list every app you have that's capable of sharing an image or video with the outside world. As an added convenience, the last app you used for sharing purposes gets its own icon between the sharing and menu ones.
If you're in the Camera app and want to share the photo you just took, swipe right to left to enter the Gallery app. The photo, and the Share icon, will be available.
I can't promise that you'll get great photos with an Android 4.2 device. Size and weight limitations, as well as price issues, make it impossible to put really good optics into phones or tablets. Lenses, unfortunately, don't follow Moore's Law.
Besides, I don't know if you have the talent. Or, for that matter, the cats.
Sign up here with your email

ConversionConversion EmoticonEmoticon